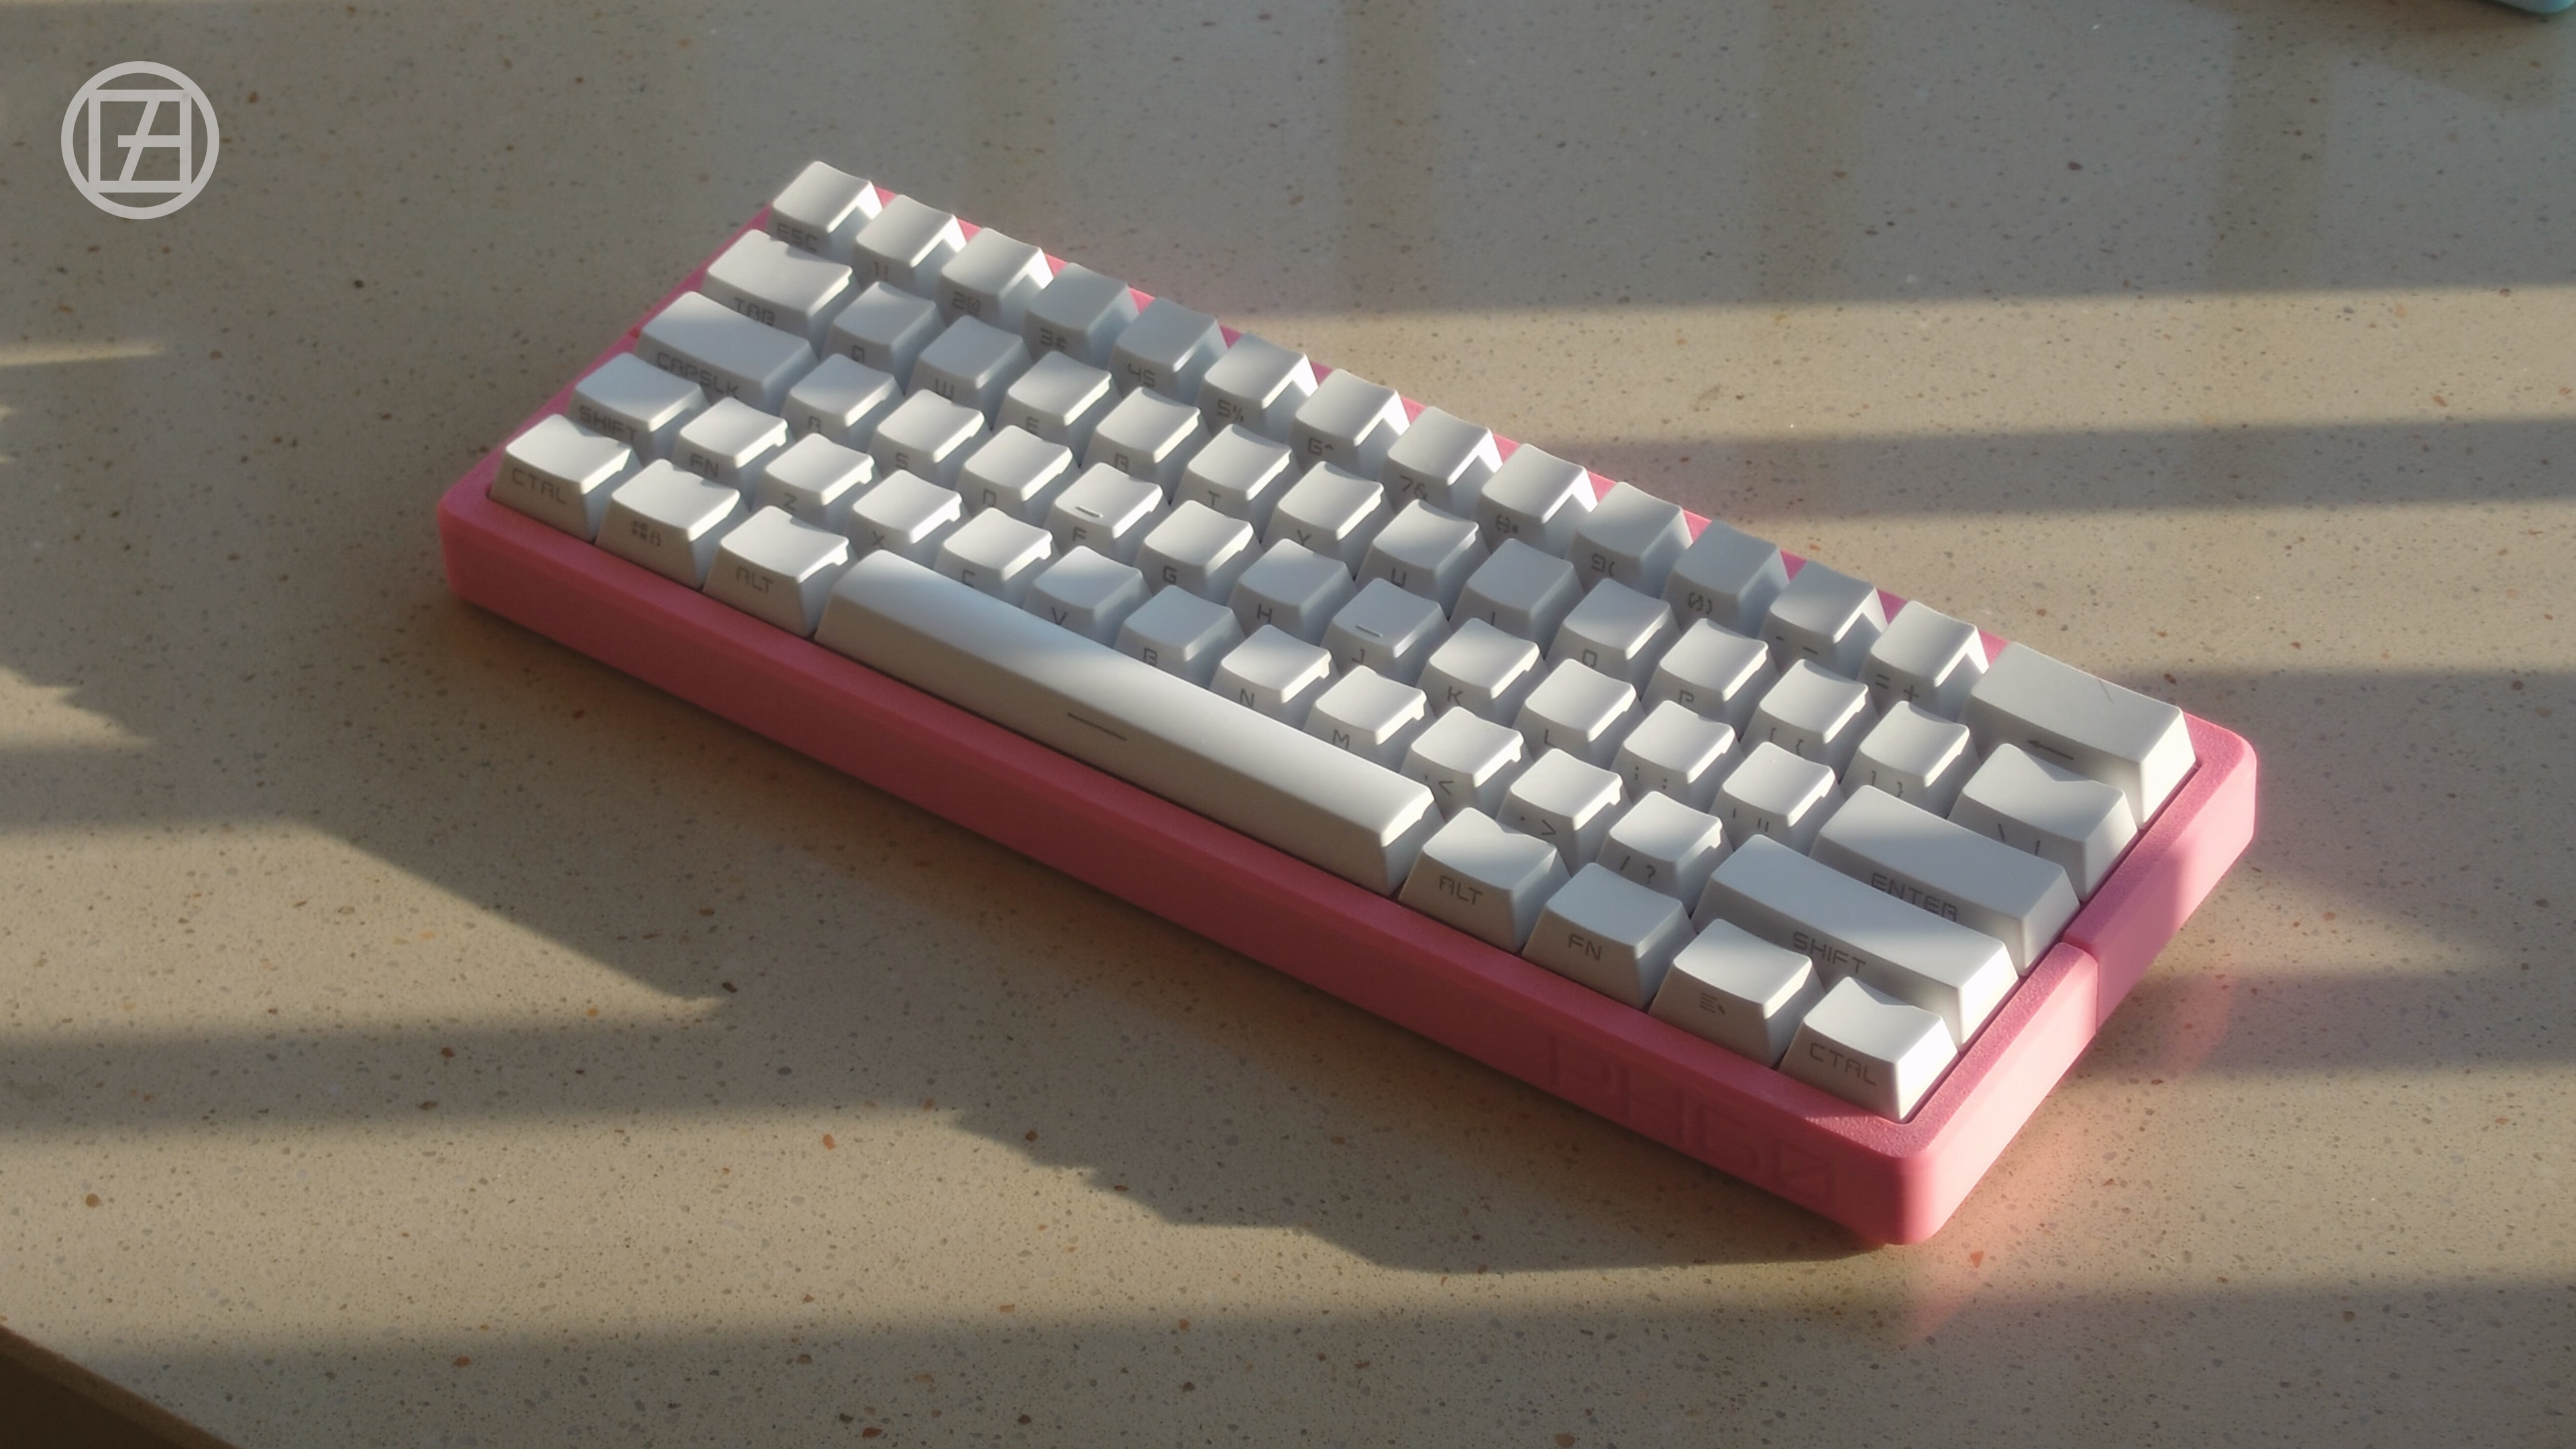
PH60 Rev2 Multi Mechanical Keyboard
Full specs live in the repo: ph-design/PH60.
MakerWorld product page: PH60 Rev2.
If you plan to build one from scratch, please read both of those first — they cover every parameter and pitfall.
Assembly
1. Hardware
What you need
- PH60 PCB
- 3D-printed case (Rev2 or Rev2i)
- 3D-printed plate (download from GitHub)
- Mechanical switches
- Keycaps
- Plate-mount stabilizers, or PCB-mount stabilizers
- 4× round neodymium magnets (6 mm × 3 mm)
- Glue for the magnets
Build process
Step 1 — Prepare the case
Rev2i (recommended for Bambu H2D / H2S)

The case is already integrated — only the magnets need installing. Drop the 4 magnets into their slots at the bottom, keep the polarity consistent across all four, and glue them in place.
Rev2 (recommended for smaller Bambu printers)

Fit the bottom plate into its slots first, make sure it sits flush, then install and glue the magnets.
Step 2 — Prepare the plate

Download the file matching your layout from the PH60-Plate repo and print it. If you want to make your own plate, see the Q&A at the bottom.
Step 3 — Install the switches

- Install the stabilizers on the plate first
- Install the switches — mind the orientation (it changes between layouts)
- Make sure each switch is fully seated in its PCB socket
Step 4 — Assemble the internals

- Lay the PCB+plate onto the bottom case, centered
- Check that the USB-C cutout lines up
- Lower the top shell onto the left side first, then let the right side drop in — the magnets pull it closed
Step 5 — Install the keycaps

After the keycaps are on, nudge the internals as needed to get a consistent feel across every key.
Key points: magnet polarity, switch orientation, keeping the internals centered.
2. Compile & flash QMK firmware
# Use the upstream QMK repo — multi is already in mainline

qmk compile -kb phdesign/ph60 -km via

# Flashing
# First flash: plug in the keyboard and drop the firmware onto the RPI-RP2 drive that appears.
# Later updates: hold the bootmagic key (default ESC) while plugging in to enter the bootloader.

# If the keyboard can't enter the bootloader through the shortcut, there's a pair of pads
# labelled BOOT under the spacebar — short them with any conductive object to force it.
If you can't find a prebuilt binary, or want custom features, build from source.
Remapping keys
Open via.phdesign.cc for the config file. The official VIA site works too — QMK finally accepted our upstream PR.
Keymap
Base layer
Fn layer
Supported layouts
FAQ
Hardware
Q: Which switches are supported?
A: All Cherry MX-compatible 3-pin and 5-pin switches, plus some MX-footprint mid-profile switches.
Q: What filament should I print with?
A: PLA is recommended (beginner-friendly). See the print guide for the full parameters.
Q: Can I use a standard 1.5 mm plate?
A: Of course. But if you want to go foam-less, try our thick plate — it's designed specifically for the acoustics.
Q: PCB-mount stabilizer support?
A: Yes, PCB-mount stabilizers are supported. You'll need the standard 1.5 mm plate for this — the thick plate doesn't accommodate PCB stabs.
Q: Vial? ZMK? RMK?
A: Vial has been fully ported — you can find the commit on our org page. We're not considering other firmwares; firmware maintenance on R2 has stopped.
Getting help
If the FAQ didn't solve your problem:
- GitHub Issues: ph-design/PH60
- Community: Discord
Last updated: January 2026