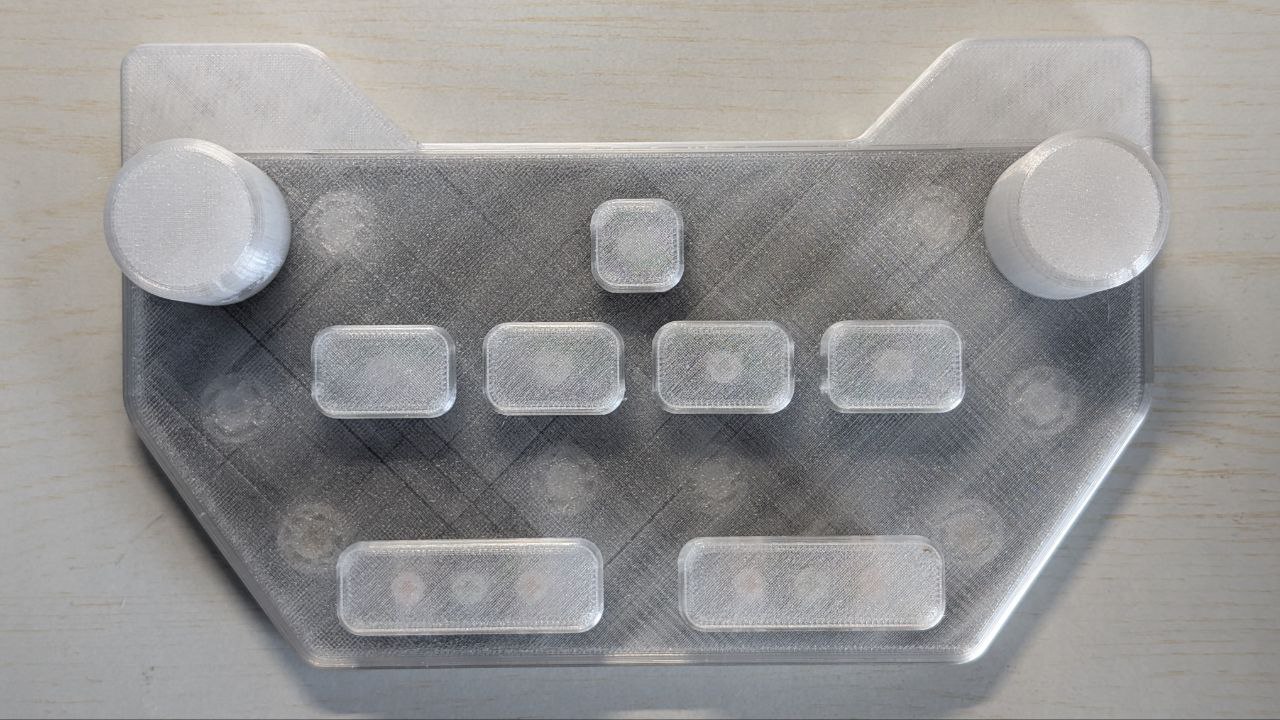
PH-AC Controller
PH-AC is an open-source 7-button + 2-knob arcade controller designed specifically for rhythm games, featuring low response latency and key remapping capabilities. It supports USB wired connection and is compatible with Windows, macOS, and Linux systems.
Version Identification
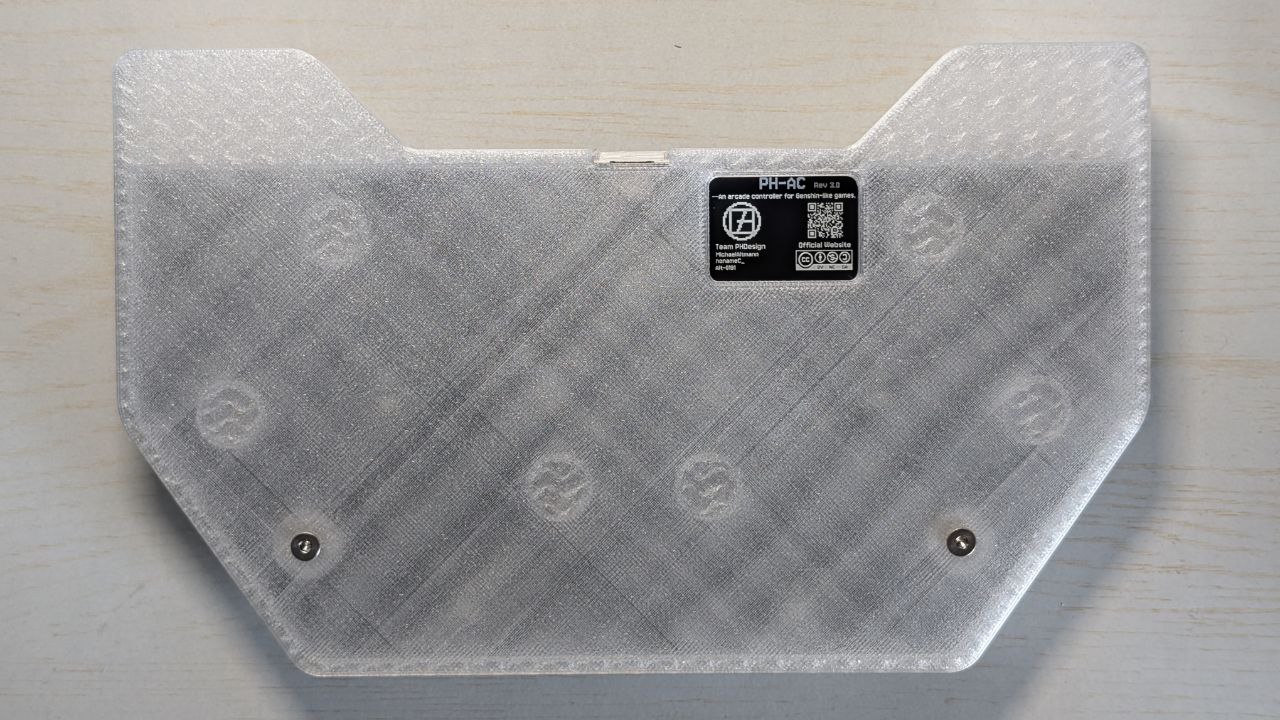
PHAC has three versions, identifiable by the silkscreen on the back window:
| Version | Encoder | Features |
|---|---|---|
| rev1 | HongYan Custom EC11 Encoder | No version marking |
| rev2 | Bourns PEC11L | rev2 marking, encoder and circuit optimization |
| rev3 | Bourns PEC11L | rev3 marking, adds RGB key lighting + extensive GPIO breakout for DIY (modifications void warranty) |
- For detailed specifications, please refer to the repository: ph-design/PH-AC
- You can configure key mappings online using PH-AC Keymapper
- You can also purchase our finished products from our Taobao Store. If you want to replicate the design from scratch, please read the following carefully:
Assembly Instructions
1. Required Materials
| Category | Item | Quantity / Spec |
|---|---|---|
| Tools | H2 Hex Wrench | ×1 |
| Tools | Soldering Iron | ×1 |
| 3D Prints | Top Cover | ×1 |
| 3D Prints | Bottom Case | ×1 |
| 3D Prints | Knobs (or Metal Knobs) | ×2 |
| 3D Prints | Keycap: 1u | ×1 |
| 3D Prints | Keycap: 1.5u | ×4 |
| 3D Prints | Keycap: 2.75u | ×2 |
| PCB | Fully Assembled PH-AC PCB | ×1 |
| Fasteners | M3×8×5mm Heat-Set Insert | ×2 |
| Fasteners | M3×8mm Socket Head Screw | ×2 |
| Fasteners | M4×8mm Button Head Screw | ×2 |
| Mechanical | Switches (Cherry MX Compatible) | ×7 |
| Mechanical | 2u Stabilizers | ×2 |
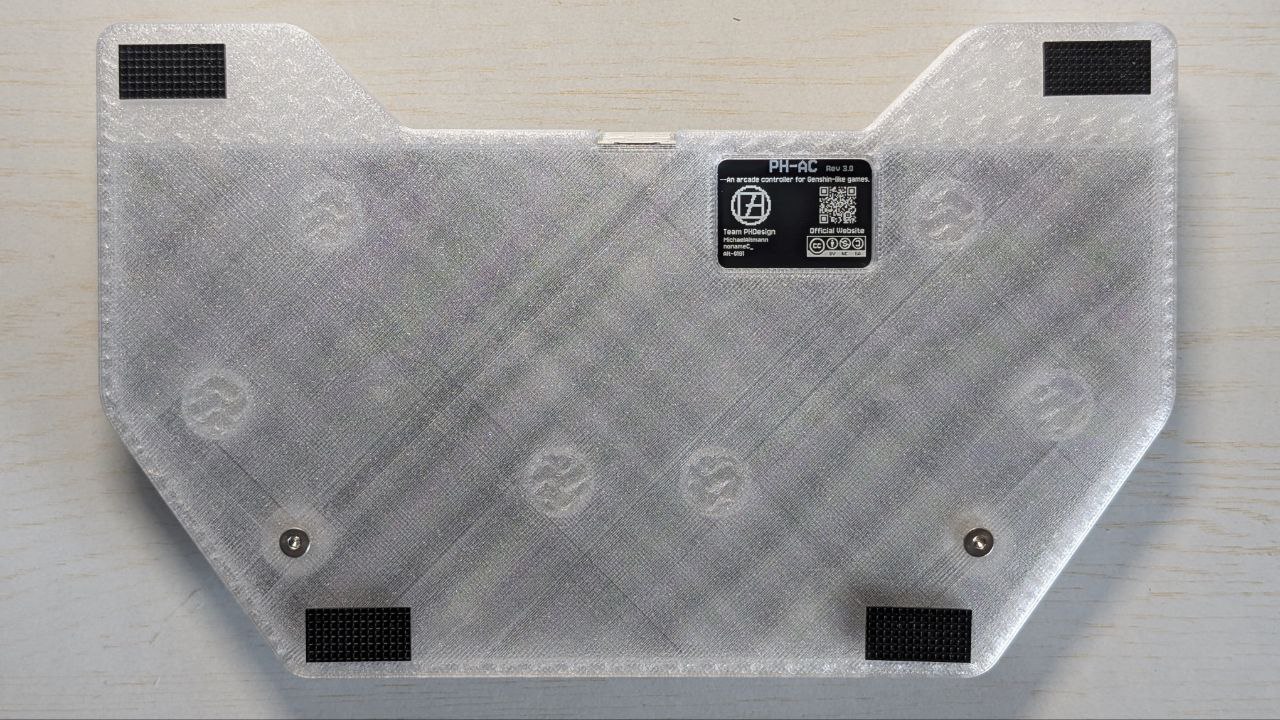
| Accessories | Anti-Slip Pads | ×4 |
2. Assembly Process
Step 1: Heat-Set Insert Installation

- Power on the soldering iron and set temperature to 350°C
- Press the heated tip vertically into the center of the heat-set insert
- Repeat until all inserts are flush
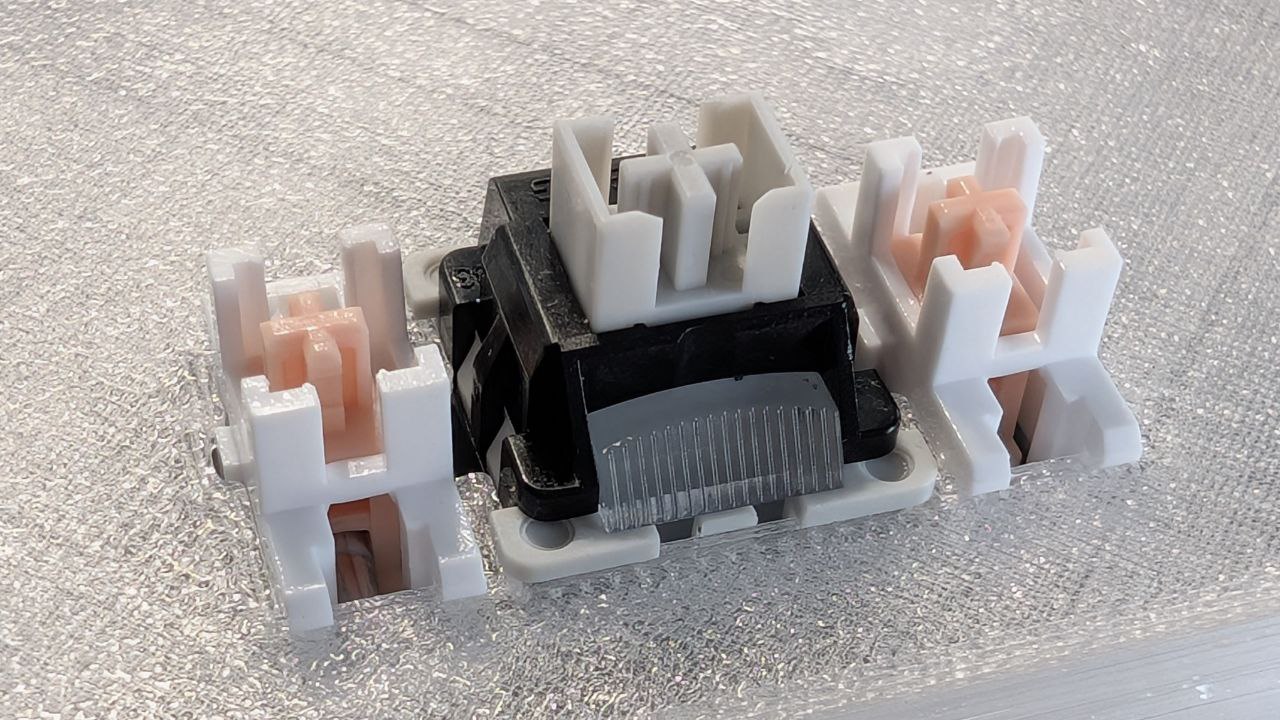
Step 2: PCB Installation
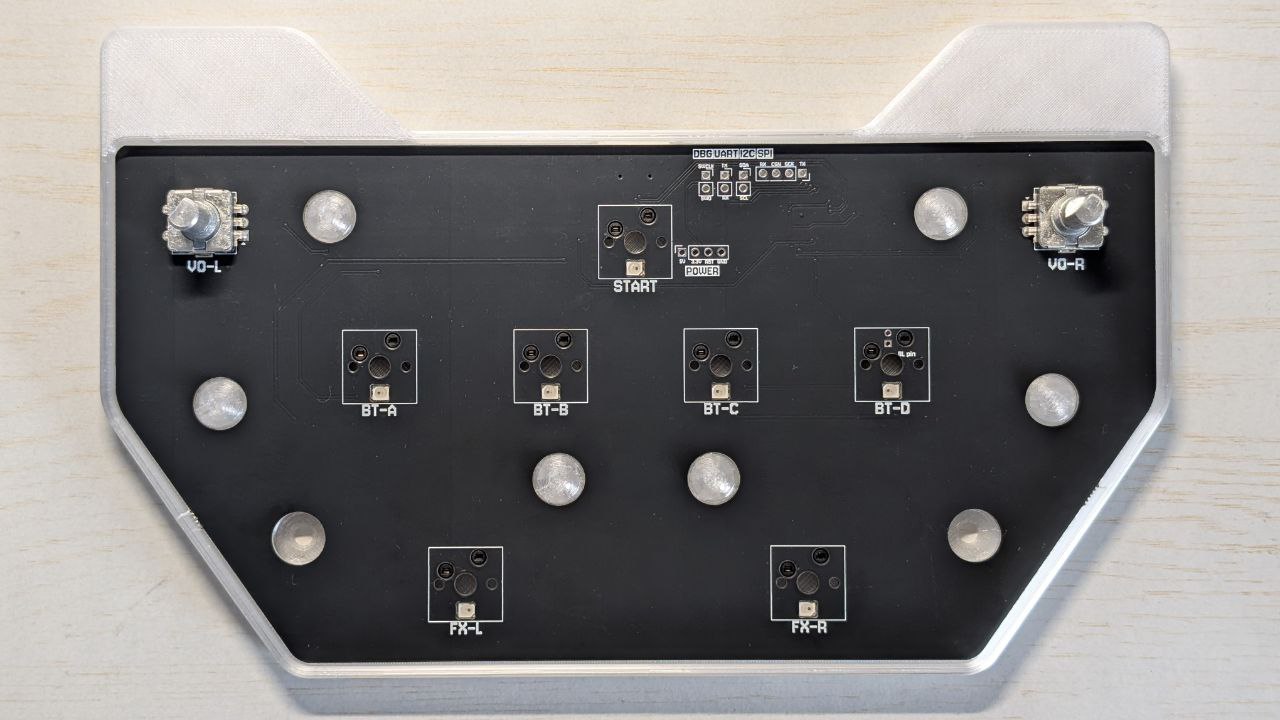
- Take out the PCB and align with mounting holes on the top cover
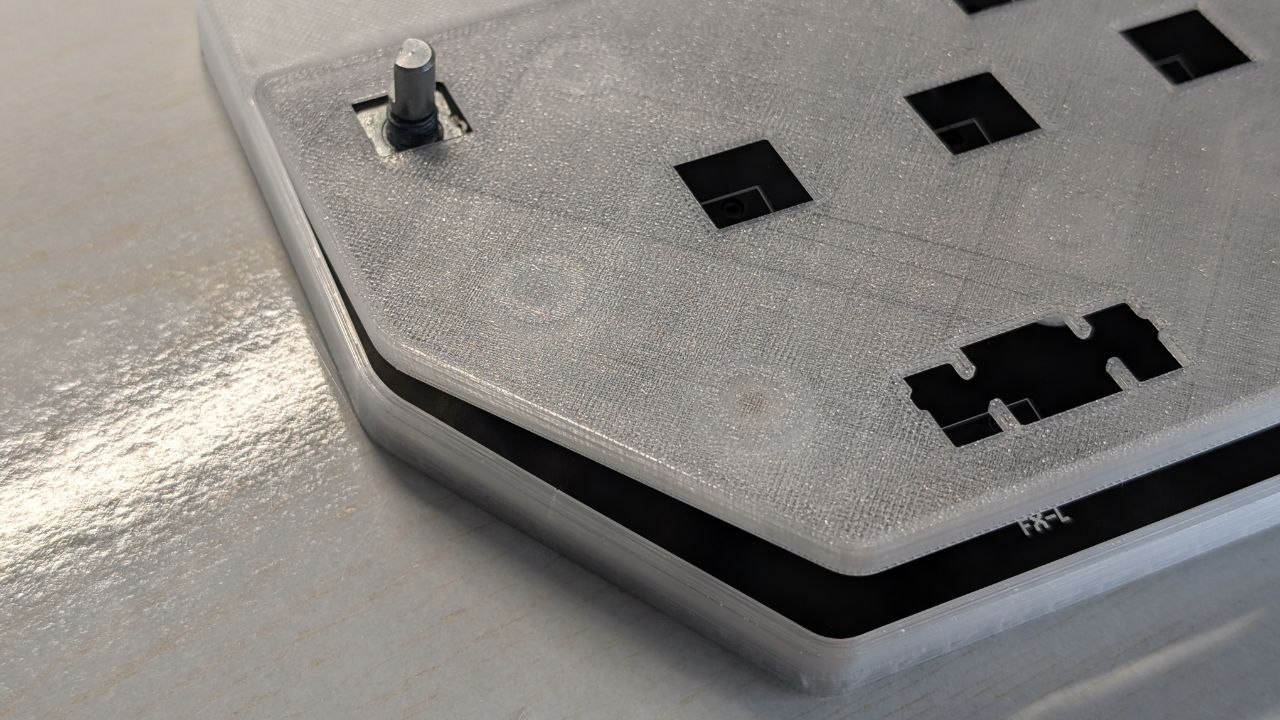
- Encoder fit is tight; if there's a gap, press firmly by hand
- Listen for a "click" or ensure no visible gap; encoder must be seated properly
Step 3: Case Assembly
- Take out the bottom case and socket head screws
- Place the top cover + PCB assembly into the bottom case
- Tighten the screws on the back
Step 4: Knob Installation
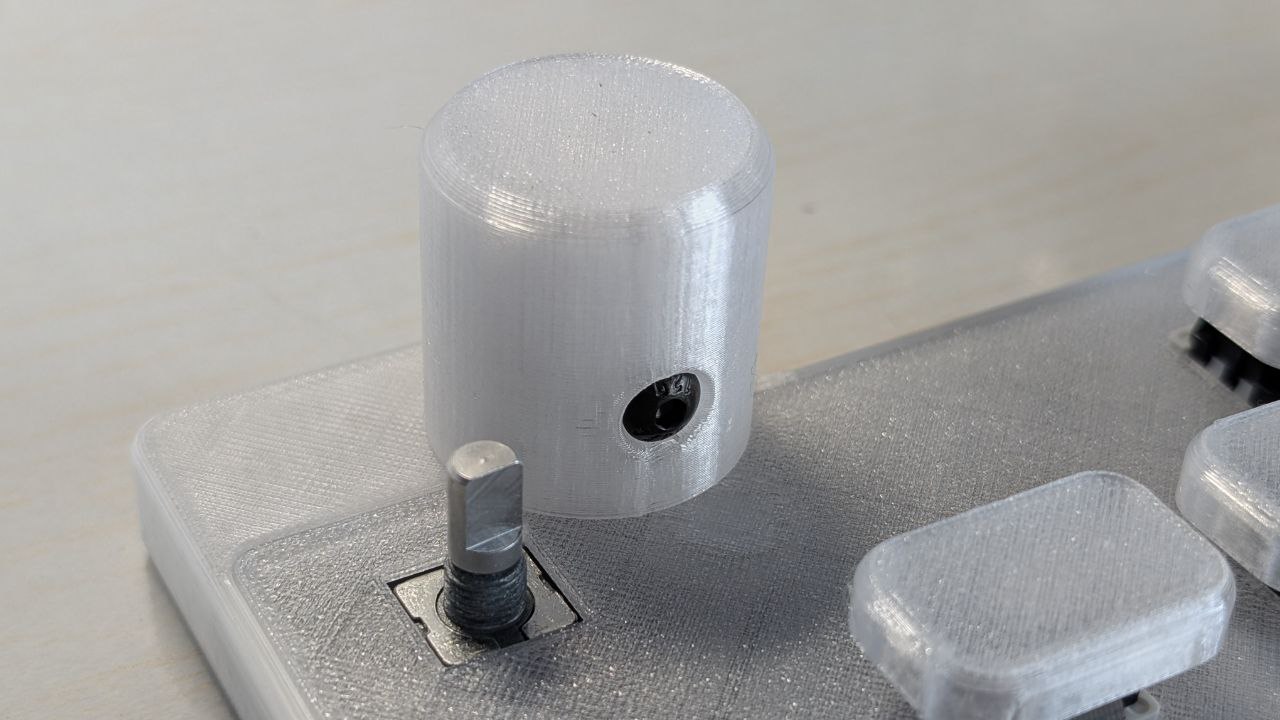
- Screw the included set screw into the knob's threaded hole
- 3D printed knobs require M4×8 screws (not included)
- Align the exposed portion with the encoder's D-shaft and place vertically
- Push down until the knob bottoms out, then tighten the set screw
Step 5: Switch and Keycap Installation
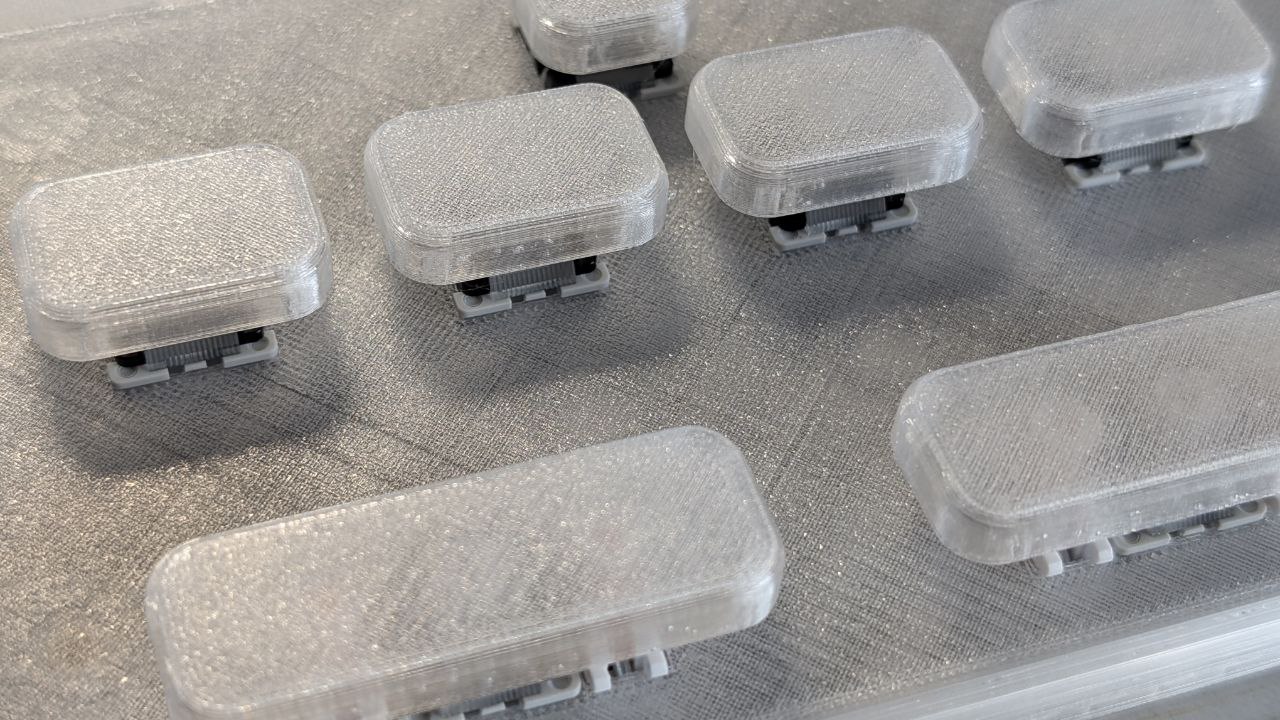
- First, snap the 2u stabilizers into their positions on the top cover
- Install 7 mechanical switches
- Install keycaps:
- First row: 1x 1u keycap
- Second row: 4x 1.5u keycaps (horizontal arrangement)
- Third row: 2x 2.75u keycaps
- Note: 2.75u keycaps are tight-fitting; press vertically and firmly until seated
Step 6: Final Touches
Attach anti-slip pads to the bottom of the case. Assembly complete!
Firmware Configuration
PHAC supports two firmware options. Choose based on your needs:
| Firmware | QMK Firmware | PHAC_Firmware |
|---|---|---|
| Gaming Optimization | ❌ Not optimized | ✅ Optimized for rhythm games |
| Encoder Binding | ✅ Supported | ✅ Supported |
| Key Remapping | ✅ Supported | ✅ Supported |
| Gamepad Mode | ❌ Not supported | ✅ Supported |
| Maintenance | ⚠️ No longer updated | ✅ Actively maintained |
| Rev1 Support | ✅ Supported | ✅ Supported |
| Rev2 Support | ✅ Supported | ✅ Supported |
| Rev3 Support | ⚠️ Lost RGB effects | ✅ Fully supported |
| Configuration Tool | VIA | keymapper.phdesign.cc |
| Other Controllers | ❌ Not supported | ✅ RP2040/RP2350 |
Compilation Notes:
Currently PHAC_Firmware relies on VSCode's Pico SDK plugin for compilation:
- Clone the firmware source code
- Import the project in VSCode
- Compile using the Pico SDK plugin
We will gradually decouple dependencies, use GitHub Actions for automated builds, and add OTA update functionality.
Flashing Firmware
- First Flash: Simply plug in the controller and drag the compiled .uf2 firmware into the RPI-RP2 storage device
- Subsequent Updates: Hold any button while plugging in the USB to enter bootloader mode
3D Printing Guide
Recommended Settings
- Layer Height: 0.2mm
- Infill Density: 15%
- Supports: None required
- Material: PLA (recommended) / PETG / ABS
Bambu Lab Compatibility
- Case: X1 series, P1 series, A1 series
- Keycaps: All Bambu Lab printers
- Slice Files: Repository provides Bambu Studio project files
Other Brands
Import the .3mf files from the repository into your slicer software, maintaining 0.2mm layer height with default settings.
Usage Notes
⚠️ Important Reminders
Encoder Selection
- Top cover only fits 4.5mm low-profile encoders
- Using standard height encoders will cause pins to interfere with the cover
- Pay special attention to specifications when purchasing parts
Usage Recommendations
- Avoid forceful operation of knobs to maintain encoder stability
- Current PCB version lacks external encoder debounce circuit
- Using low-quality or worn encoders may cause rollback issues
🔧 Troubleshooting
Encoder Wear from Long-term Use
Encoders may wear over long-term use, exhibiting symptoms such as:
- Variable magnitude rollback during rotation
- No response
- Skipped steps
Maintenance Method:
- Prepare 400cs dimethyl silicone oil
- Apply oil between PCB and encoder bottom
- Invert and press the encoder knob, repeat until lubricant penetrates into encoder
- If issue persists, repeat the above steps
Note: Under extreme use, the encoder internals may have deformed; lubrication may not fully resolve the issue. Please contact us for repair.
Button Issues
- Ensure switches are fully inserted into sockets; installation may bend pins, preventing full insertion
- Check stabilizer installation is correct; we only support standard MX stabilizers
- 2.75u keycaps require firm pressing until fully installed. If using our 3D printed keycaps, ensure vertical firm pressing for complete insertion
License
This project is released under Creative Commons BY-NC-SA 4.0 license:
- Attribution (BY): Must credit the project and provide license link
- Non-Commercial (NC): Cannot be used for commercial purposes
- Share-Alike (SA): Derivative works must be released under the same license
3D Printing Additional Terms
- Design files are for personal use only, commercial use prohibited
- Allowed to manufacture through 3D printing services, but must charge by standard weight
- Please retain all markings in the design; unauthorized removal or modification prohibited
Community Support
📚 Get Help
- GitHub Issues: ph-design/PH-AC
- Email Support: [email protected]
- Purchase Inquiries: Taobao Store
🙏 Special Thanks
- QMK Project - QMK Firmware
- All community members who contributed code and feedback
Last Updated: November 2025