PH60 Rev3 Multi V2 Mechanical Keyboard
Overview
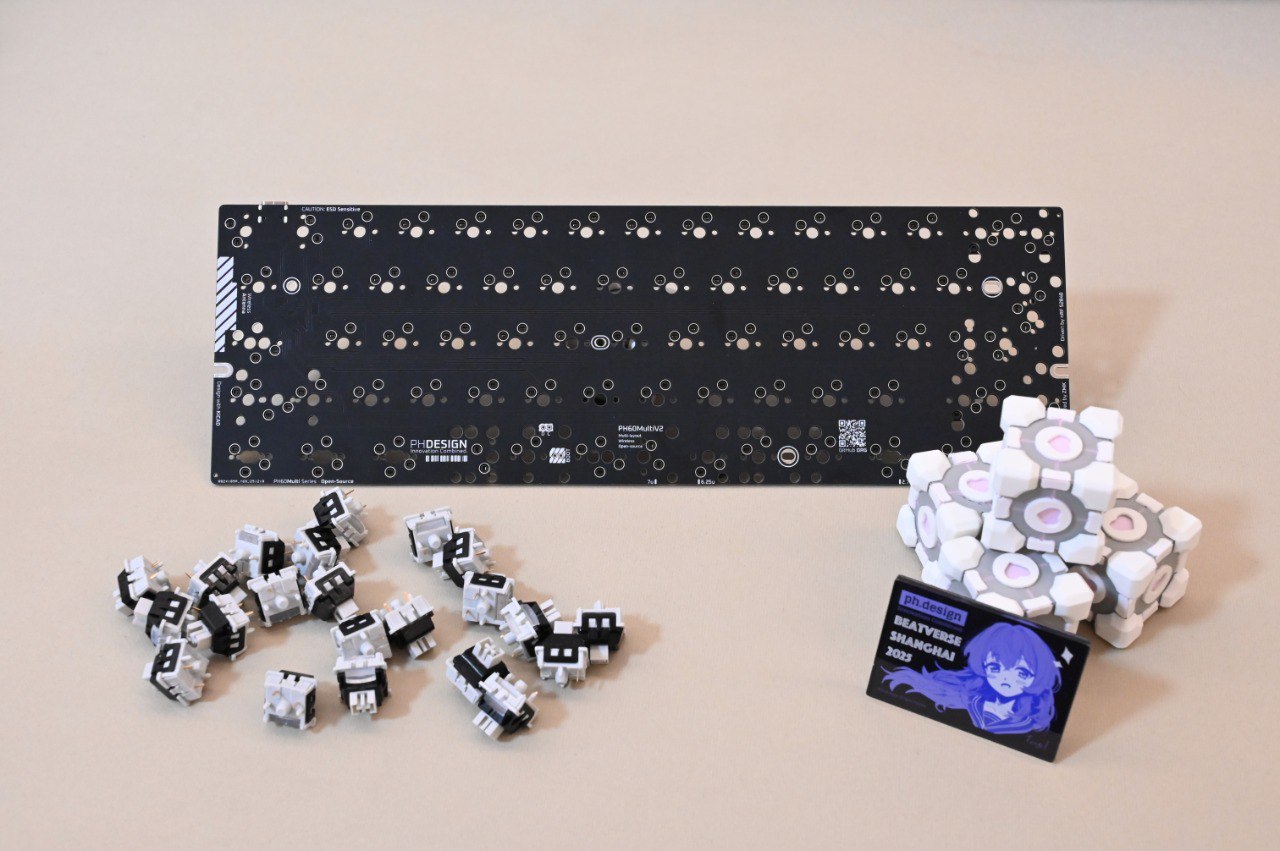
PH60 Rev3 Multi V2 is a 60% multi-layout low-profile keyboard kit.
What's new vs. Rev2
- On top of the existing multi-layout support, added more split-spacebar options: split 6.25u into 2.75u + 1u + 2.5u, or split 7u into 3u + 1u + 3u
- MCU switched to nRF52840
- Bluetooth 5.3
- ZMK firmware (replacing QMK)
Bill of materials
Included in the kit
| Item | Qty | Notes |
|---|---|---|
| Case | 1 | |
| PCB | 1 | |
| Plate | 1 | ANSI 60% by default — contact support for other layouts |
| Stabilizers | 4+1 | Based on ANSI; quantity varies with layout |
You need to supply
In addition to the base Multi kit, the following parts are required to complete the build:
| Item | Qty | Notes |
|---|---|---|
| Standard MX switches | 61 | Based on ANSI; count varies with layout |
| Keycaps | 61 | Based on ANSI; count varies with layout |
Assembly
1. Prepare the case
#todo
2. Connect the PCB to the battery
#todo
Check polarity on both the battery lead and the connector.
3. Seat the PCB
#todo
Double-check the battery orientation and how the lead runs — make sure nothing gets pinched.
4. Drop in the plate and install stabilizers
#todo
⚠️ The plate may warp — straighten it or weight it down. During install make sure the PCB sits flush against the plate so the switches don't lose contact. Only plate-mount stabilizers are supported at this time.
Take one 2u (the shorter one) stabilizer and thread the wire toward you through the left-Shift cutout in the plate. Once the front edge of the stab is seated in the plate, press the back down to lock it. Use the same method for the spacebar (the longer one), Backspace, Enter, right Shift. When done, the stab stems and wire should move smoothly with no deformation.
5. Lube the stabilizers
Lube the stabs for the best feel. In addition to the pivot and the stem, apply a small amount of lube to the middle of the wire to reduce friction against the plate and PCB.
6. Install the switches
Mind the pin orientation — getting it wrong can bend the pins or damage the hot-swap socket.
7. Install the keycaps
Install keycaps left to right. For the stabilized (large) keys, press the keycap fully onto both the switch stem and the stab stems so they return cleanly.
Firmware flashing & updates
Everything below assumes the latest firmware. Early-batch users should update first — this fixes most issues such as failure to wake from sleep, Bluetooth connection problems, and stuck keys.
Getting the firmware
The Multi firmware is a single image that covers all supported layouts. The HHKB layout currently has a bug requiring a manual remap; the other layouts work out of the box.
1. Prebuilt (QQ group)
Join the QQ group 512933670 — the latest firmware is posted in the group files.
2. Build from source
ZMK is built via GitHub Actions — download the artifact produced by the workflow.
- Keyboard config repo (keymap, shield definition, produces artifacts): ph-design/ph_lite-zmk-config
- Underlying firmware repo (ZMK fork, for advanced users modifying firmware internals): ph-design/zmks
First-time bootloader flashing
If you bought from our store, the bootloader is already flashed — skip this section and go to updates below. If you fabricated your own PCB from a PCB shop, see the NRF52-Bootloader fork repo, build the bootloader, flash it via a programmer, then update the firmware normally.
Updating the firmware
1. Enter the bootloader
The default shortcut is Fn + B + R. The keyboard disconnects and a new mass-storage device shows up.
If the shortcut doesn't respond (wrong firmware version or similar), pull off the spacebar keycap and short the two pads under the spacebar with tweezers, tapping twice quickly to force the bootloader.
2. Copy the firmware
Once in the bootloader the keyboard becomes a USB mass-storage device. Drop the firmware file onto it and wait for the keyboard to reconnect.
If you can't connect / update / unlock / a bad firmware was flashed:
we provide a setting_reset_V2 firmware — flashing it wipes settings, clears the existing firmware, and reboots the board.
Recovery flow:
enter bootloader with tweezers → flash setting_reset_V2 → board reboots with factory settings → flash the latest firmware.
Keymap
For ergonomics the four keys in the bottom-right are mod-tap / layer-tap: tap for the arrow, hold for the modifier or layer switch. Details below.
Base layer
Fn layer
Bluetooth layer
Remapping keys
We host a customized build of ZMKS Studio on our CDN: it's based on the upstream ZMK Studio with added localization, UI tweaks for our firmware, and better performance in China. We recommend using this one.
Key behavior
-
Layer Tap (LT) — hold to switch to the
FNlayer, tap to sendDOWN. -
Mod Tap (MT) — e.g.
mt RSHFT UP: hold sends the modifier (right Shift), tap sends the arrow keyUP.mt RGUI LEFTandmt RCTRL RIGHTwork the same way.
Bluetooth layer reference
BT1~BT4: switch between pre-configured Bluetooth profilesBT CLR: tap to clear the current profile, hold to clear all profilesOUT: while wired, toggle between USB and Bluetooth outputBOOT: enter the bootloaderSOFT OFF: soft shutdown — the keyboard disconnects and sleeps; press the same key to wake
The four bottom-right keys on the base layer
Example: mt(Shift, ↑) — tap sends the arrow key ↑, hold sends Shift.
- The four keys in the bottom-right of the base layer all use
mt(...) - Current mapping:
mt(Shift, ↑)— tap↑, holdShiftmt(FN, ←)— tap←, holdFN(Layer Tap: hold to switch to the specified layer)mt(Win, ↓)— tap↓, holdWinmt(Ctrl, →)— tap→, holdCtrl
FAQ
Q: Which layouts does Multi support?
A: Multi supports ANSI, ISO, HHKB 7U, WK, and WKL, plus split-spacebar combinations (2.75u + 1u + 2.5u and 3u + 1u + 3u). Swap the plate and stabilizers to match the layout you want.
Q: How do I quickly switch between paired devices?
A: Use the pre-defined shortcut (default: tap FN + 1~5) to cycle through profiles.
Q: Can't connect after switching profiles?
A: Re-pair the target device (default: tap FN + B + BACKSPACE) or reset all Bluetooth settings on the keyboard (default: hold FN + B + BACKSPACE).
Q: 2.4 GHz?
A: The mainline firmware does not support 2.4 GHz yet. An experimental implementation lives in the 2.4g_impl branch of the firmware repo, and a matching dongle is planned.
Firmware
Q: The keyboard won't enter the bootloader.
A: Pull off the spacebar keycap. You'll see two pads labelled BOOT. Short them twice with a conductive object (tweezers, paperclip) to force the bootloader.
Q: Will a firmware update wipe my keymap?
A: No — the keymap is preserved. That's exactly why we provide the reset firmware for when things go wrong.
Getting help
If the FAQ didn't solve your problem:
- GitHub Issues: ph-design/PH60
- Community: Discord
- QQ group: join
Last updated: April 2026