PH60 Slim Choc V2 Mechanical Keyboard
Overview
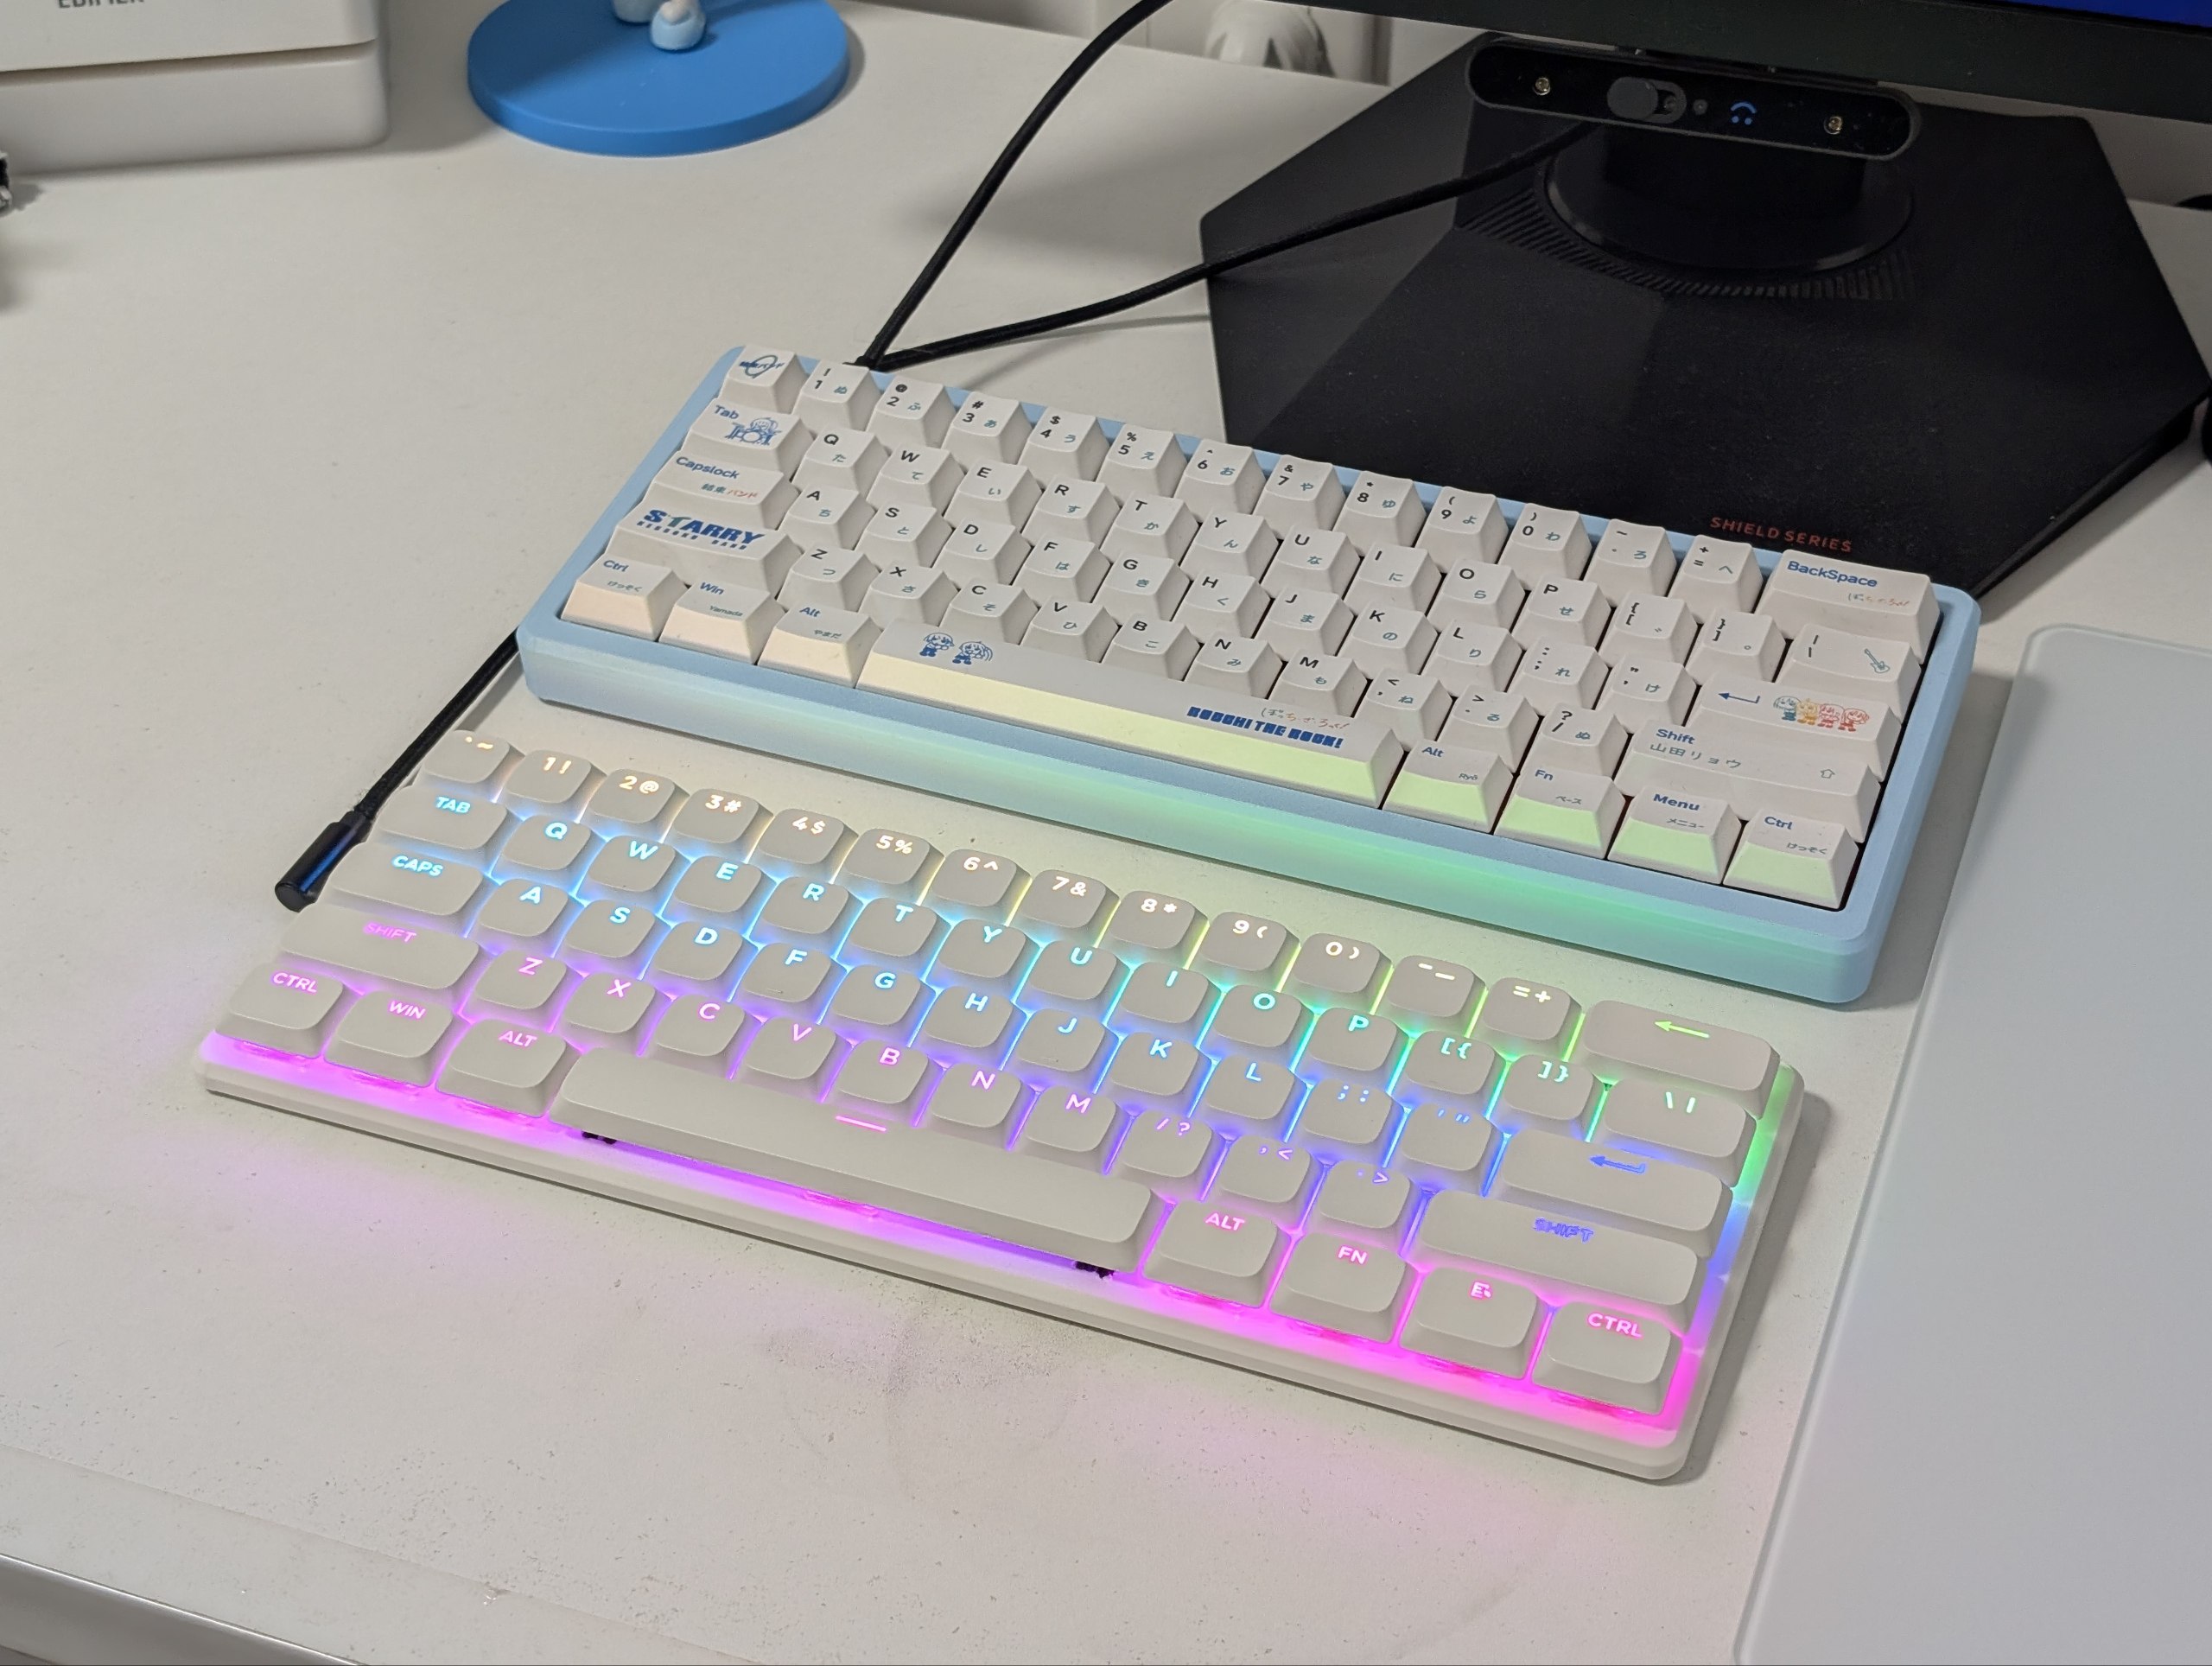
PH60 Slim Choc V2 is a 60% ANSI wireless low-profile mechanical keyboard kit. The case, PCB, battery, and stabilizers come pre-assembled and pre-lubed from the factory — you only need to install switches and keycaps to finish the build.
What's new vs. V1
- Upgraded from PH60 Slim Choc V1
- MCU switched to Nordic nRF52840
- Bluetooth 5.3 + ZMK firmware
- Supports ZMK Studio — remap keys in the browser without reflashing
- Stabilizers factory-installed and pre-lubed
- Replaced the magnetic folding kickstand with a built-in negative tilt design; combined with the sculpted keycap heights, it gives a more ergonomic typing posture
Specs
| Item | Value |
|---|---|
| Layout | 60% ANSI |
| MCU | Nordic nRF52840 |
| Connection | USB-C / Bluetooth 5.3 |
| Latency | Wired 1 ms / Bluetooth 7.5 ms |
| Firmware | ZMK |
Bill of materials
Included in the kit
| Item | Qty | Notes |
|---|---|---|
| Case | 1 | Pre-assembled |
| PCB | 1 | Pre-mounted inside the case |
| Battery | 1 | Custom battery with 3C certification |
| Stabilizers | 5 | 4×2u + 1×6.25u, factory-installed and lubed |
You need to supply
In addition to the base kit, the following parts are required to complete the build:
| Item | Qty | Notes |
|---|---|---|
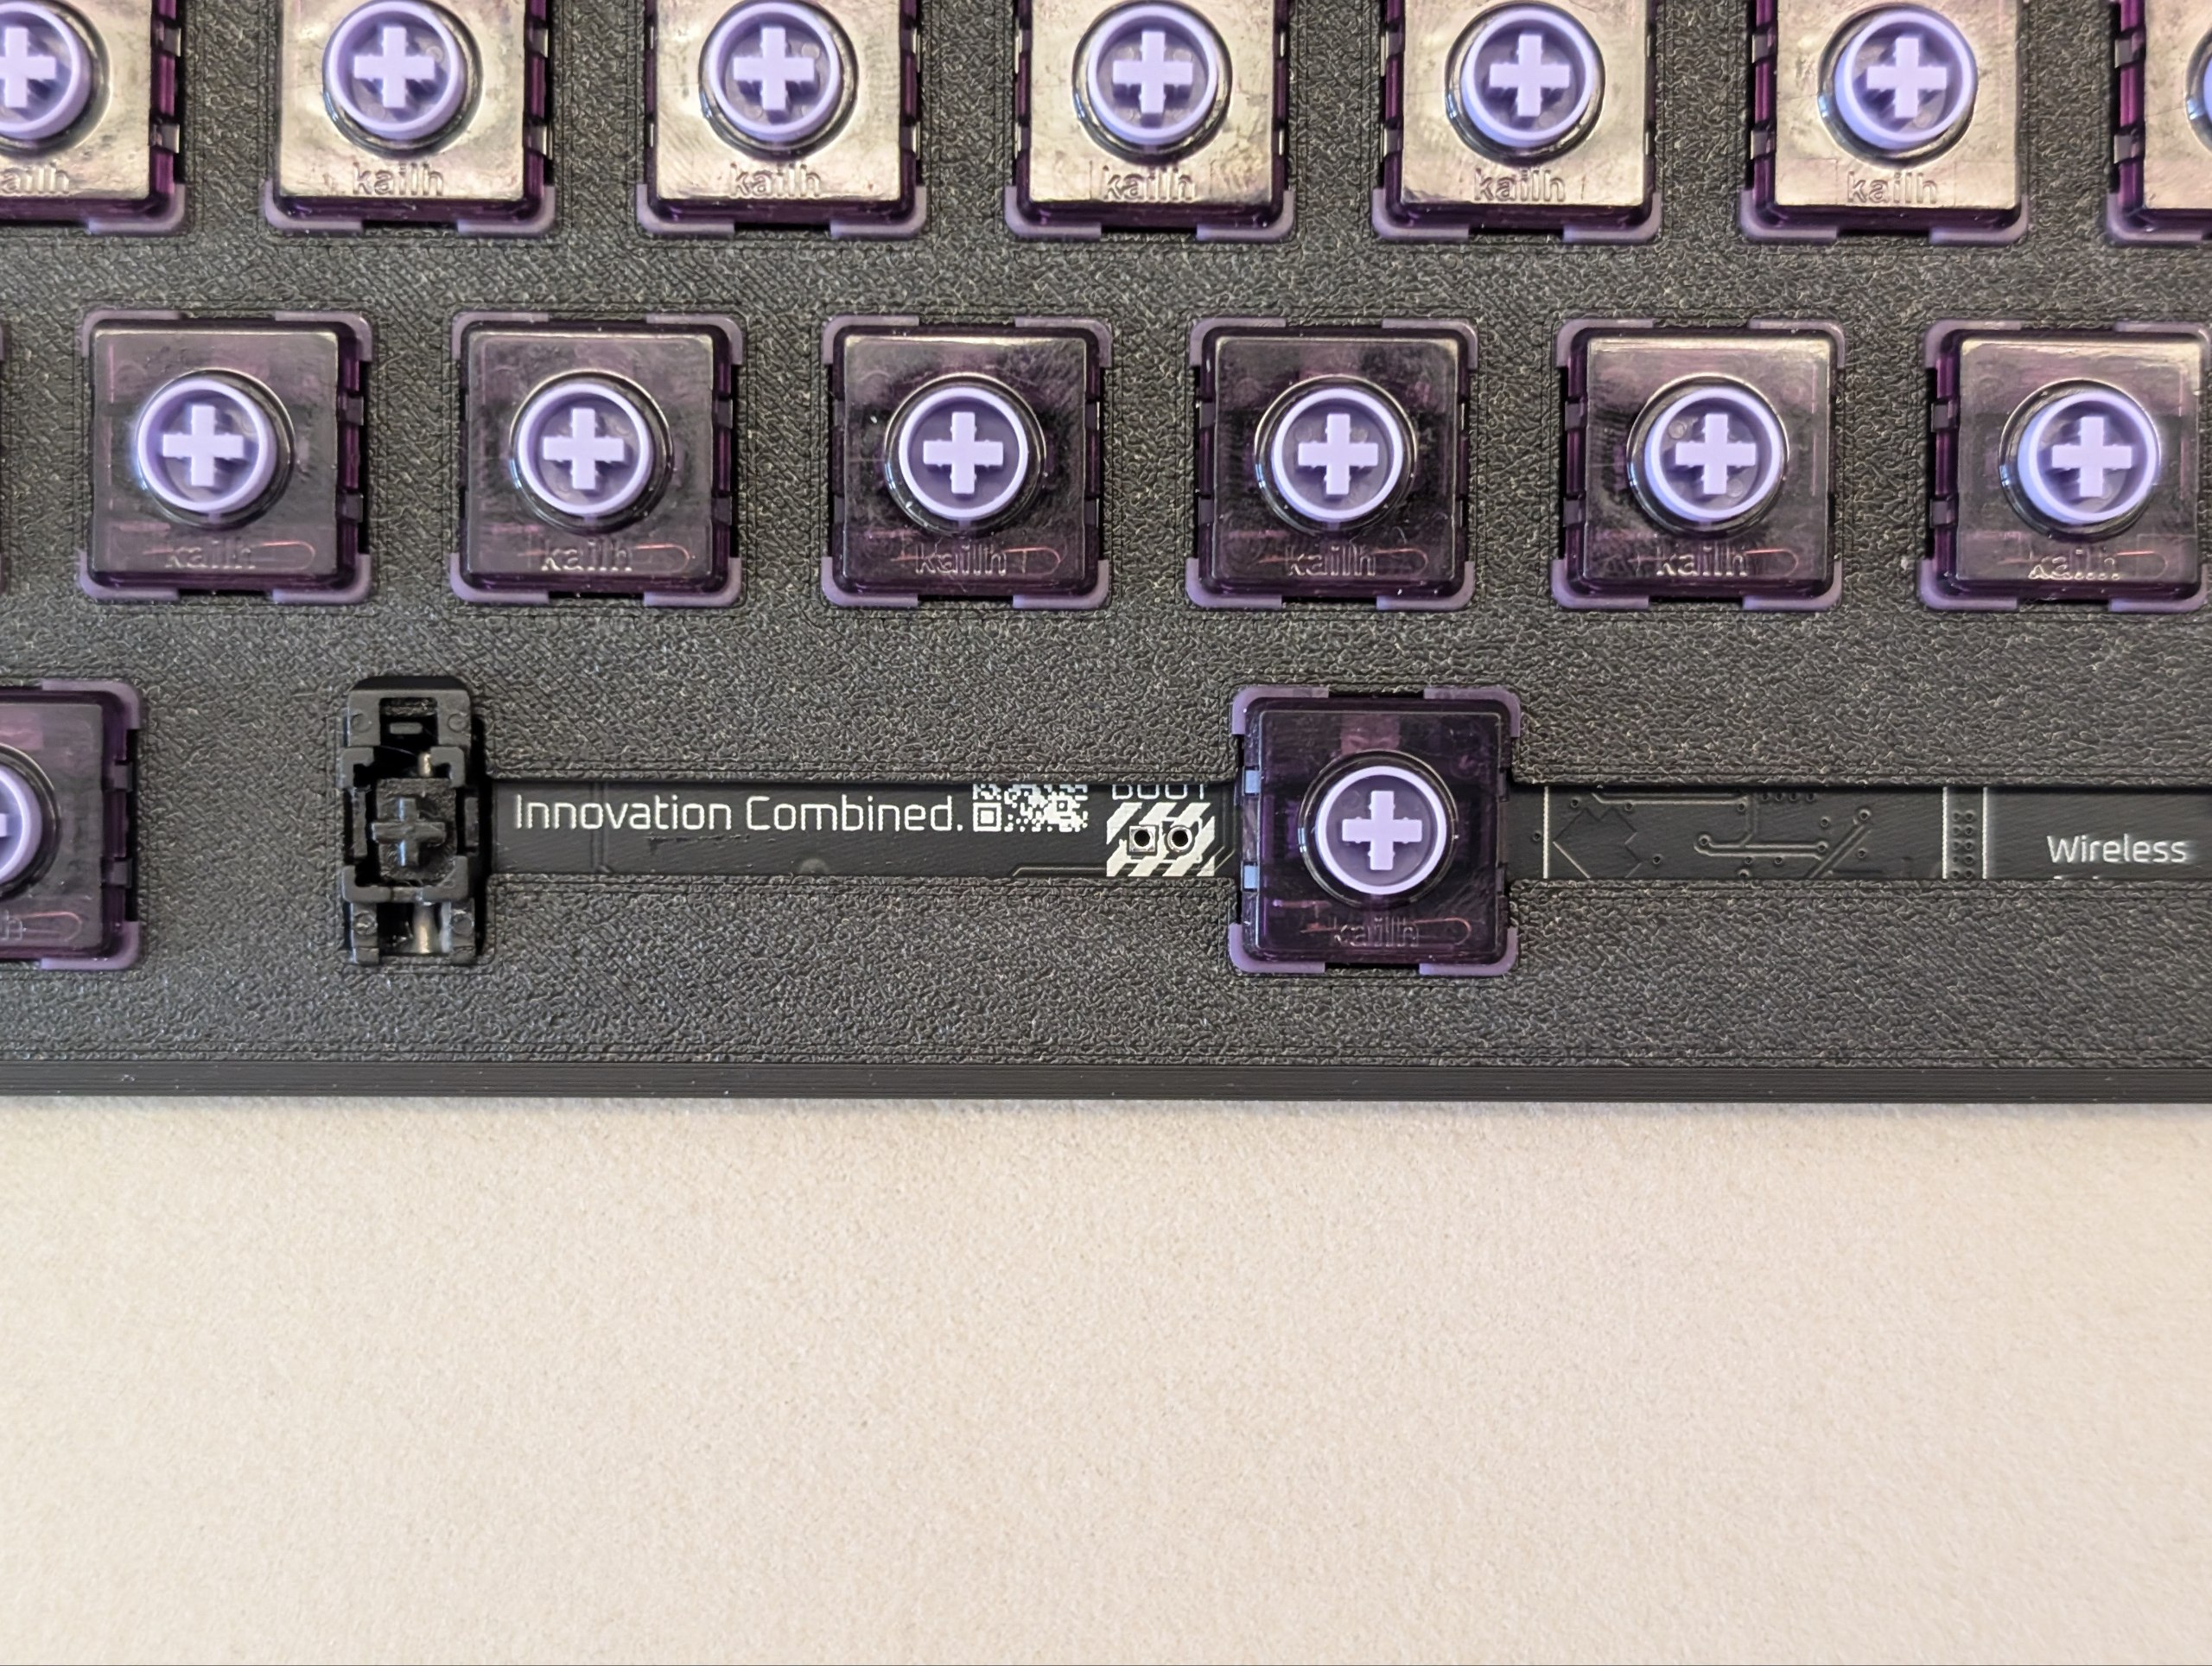
| Kailh low-profile switches | 61 | The PCB does not accept standard MX switches — Choc V1/V2 sockets only |
| Low-profile keycaps | 61 | Regular-height keycaps may rub against the switch housing |
Assembly
1. Install the switches
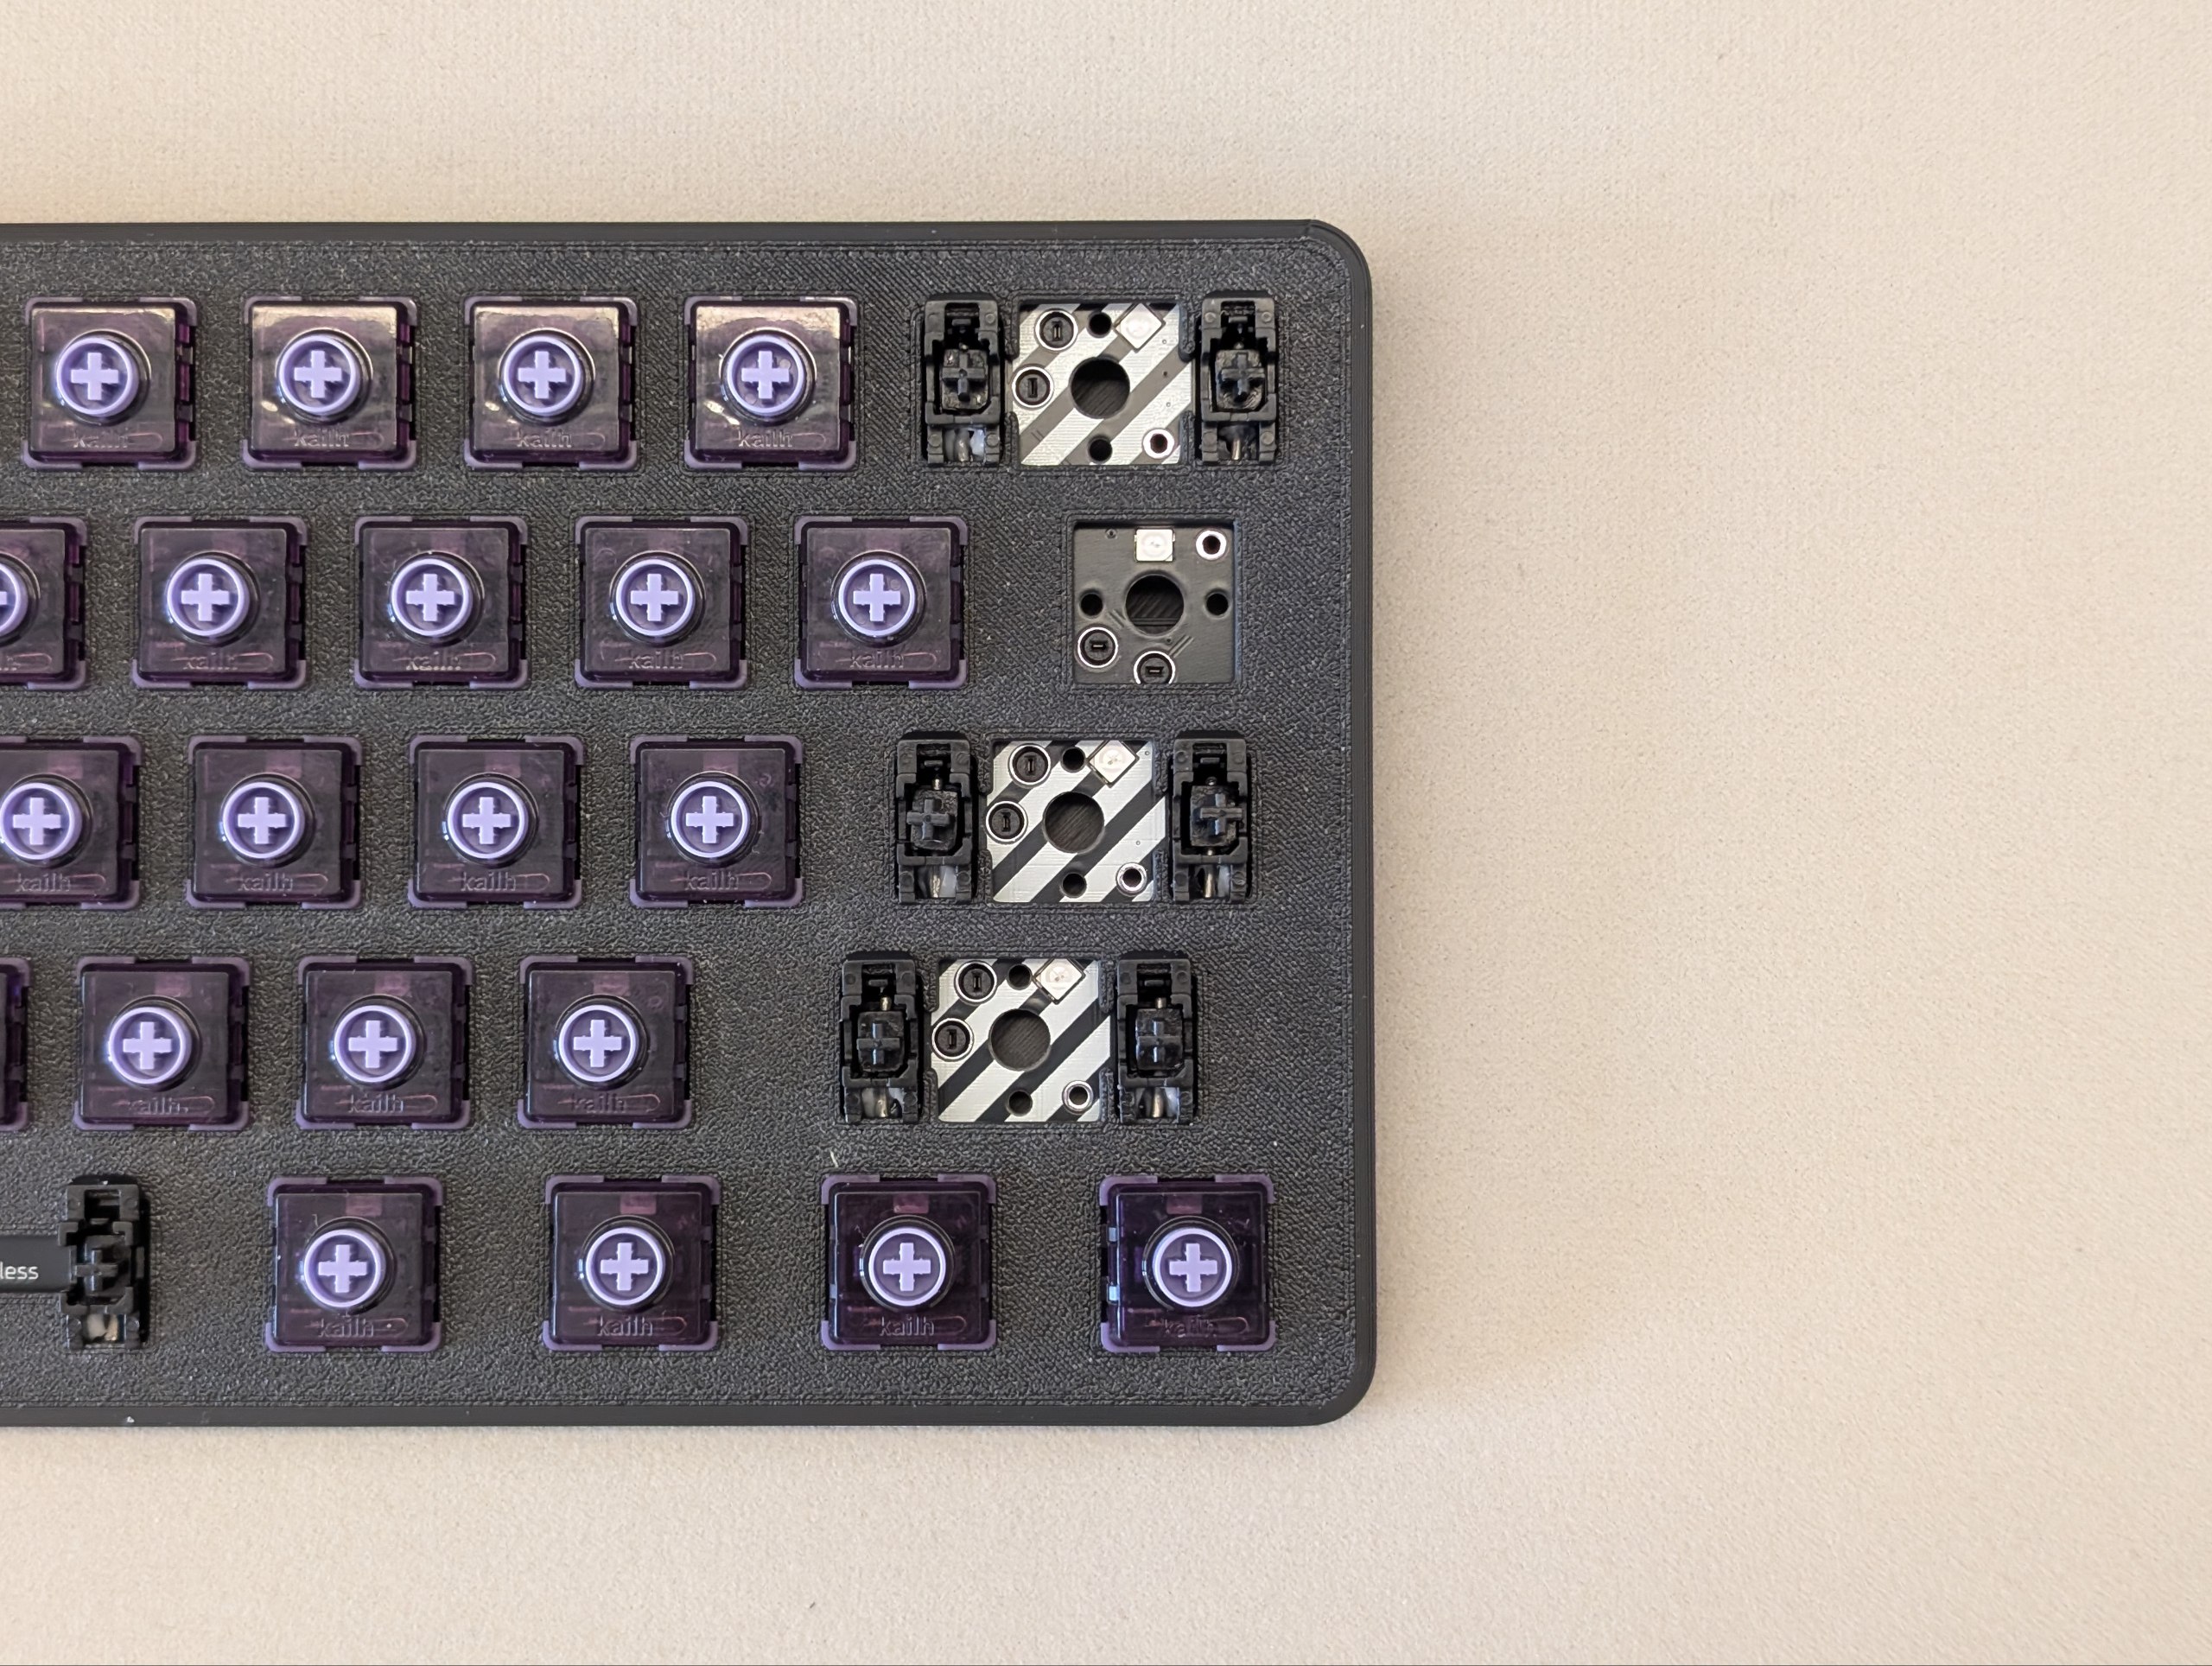
Slim Choc only accepts Kailh Choc low-profile switches (V1/V2 sockets). Forcing an MX switch or a different brand of low-profile switch into the socket may cause irreversible damage to the PCB.
Mind the pin orientation. Incorrect orientation can bend the switch pins or damage the hot-swap socket, and may also kill the per-key LED. For the stabilized keys, the switch needs to be rotated 90°.
2. Install the keycaps
Install keycaps left to right. For the stabilized (large) keys, press the keycap fully onto both the switch stem and the stabilizer stems to avoid a sluggish return on release.
When installing 3D-printed keycaps, some of the large keys may need light sanding to fit the stem. When pulling keycaps off, always pull straight along the switch axis — 3D-printed parts are weakest along the Z axis and the stem can snap off inside the switch.
Firmware flashing & updates
Everything below assumes the latest firmware. Early-batch users should update first — doing so fixes most issues such as failure to wake from sleep, Bluetooth pairing problems, and stuck keys.
Getting the firmware
1. Prebuilt (QQ group)
Join the QQ group 512933670 and grab the latest build from the group files.
2. Build from source
ZMK is built via GitHub Actions — download the artifact produced by the workflow.
- Keyboard config repo (keymap, shield definition, produces artifacts): ph-design/ph_lite-zmk-config
- Underlying firmware repo (ZMK fork, for advanced users modifying firmware internals): ph-design/zmks
Flashing a new firmware
1. Enter the bootloader
The default bootloader shortcut is Fn + B + R. The keyboard disconnects and a new mass-storage device shows up.
If the shortcut doesn't respond (e.g. wrong firmware version), pull off the spacebar keycap, then short the two pads marked BOOT under the spacebar twice within 500 ms using tweezers (or any conductive object). This forces the keyboard into the bootloader.
2. Copy the firmware
Once in the bootloader the keyboard becomes a USB mass-storage device. Drop the firmware file onto the drive and wait for it to reconnect.
If you can't connect / update / unlock / a bad firmware was flashed, we provide a setting_reset_V2 firmware. Flashing it wipes settings, clears the existing firmware, and reboots the board.
Recovery flow: enter bootloader with tweezers → flash setting_reset_V2 → board reboots with factory settings → flash the latest firmware.
Keymap
The source of truth for the keymap and shield definition is the .keymap file under boards/shields/PH60-SC_V2/ in ph_lite-zmk-config. The arrow keys in the bottom-right are mod-tap: tap for the arrow, hold for the original modifier.
Base layer
Fn layer
Bluetooth layer
RGB layer
Remapping keys
We host a customized build of ZMKS Studio on our CDN: it's based on the upstream ZMK Studio with added localization, UI tweaks for our firmware, and better performance in China. We recommend using this one.
How to use it
- Connect the keyboard to your computer
- Open zmks.phdesign.cc in your browser
- Grant HID permission
- Pick PH60 Slim Choc V2 in the device picker
- Once connected, press
Fn + \to unlock — you can now remap keys and tweak RGB in real time
ZMK Studio does not require reflashing. Changes are saved to the keyboard and take effect immediately.
Default shortcuts
Fn+\: unlock ZMK StudioFn+B+R(USB only): reboot into the bootloaderFn+B+Tab(USB only): toggle output between USB and BluetoothFn+R: soft-reset the keyboardFn+B+1~5: switch between 5 Bluetooth profilesFn+B+Backspace: tap to clear the current profile, hold to clear all profilesFn+B+Enter: trigger soft off (deep sleep); press any key to wakeFn+Z: toggle RGB on/offFn+X: hold to enter the RGB layer — adjust hue / saturation / brightness / speed / effect
RGB and battery life
Slim Choc V2 moves the LEDs to a top-facing position, pairing well with shine-through keycaps. RGB has a large impact on runtime, so by default RGB is on over USB and off over Bluetooth.
- RGB off: two to three months of battery life
- RGB on: two to three hours before the battery runs out
If you want RGB on wireless, you can change this in ZMK Studio. Note that due to the MCU + LED power scheme, the reported battery percentage is currently not very accurate.
Bluetooth layer reference
BT1~BT5: switch between the 5 pre-configured Bluetooth profilesBT CLR: tap to clear the current profile, hold to clear all profilesOUT: while wired, toggle between USB and Bluetooth outputBOOT: enter the bootloaderSOFT OFF: soft shutdown — the keyboard disconnects and sleeps; press the same key to wake
RGB layer reference
Hold Fn + X to enter the RGB layer. While held, these keys adjust the lighting:
U/I: hue −/+O/P: saturation −/+[/]: previous / next effectJ/K: brightness −/+L/;: speed −/+
FAQ
Wireless
Q: How do I quickly switch between paired devices?
A: Use Fn + B + 1~5 to cycle through the 5 Bluetooth profiles.
Q: Can't connect after switching profiles?
A: Re-pair the target device. Tap Fn + B + Backspace to clear the current profile, or hold it to clear all profiles and start fresh.
Q: The battery percentage over Bluetooth looks wrong.
A: That's a known limitation of the current hardware. A future version may drop the percentage readout in favor of a simple indicator LED.
Q: 2.4 GHz?
A: The mainline firmware does not support 2.4 GHz yet. An experimental implementation lives in the 2.4g_impl branch of the firmware repo, and a matching dongle is planned.
Firmware
Q: The keyboard won't enter the bootloader.
A: Pull off the spacebar keycap. You'll see two pads labelled BOOT. Short them twice with a conductive object (tweezers, paperclip) within 500 ms to force the bootloader.
Q: Will a firmware update wipe my keymap?
A: No — the keymap is preserved. If you need a full reset, flash setting_reset_V2 first.
Other
Q: Can I use 3D-printed keycaps?
A: Yes. We recommend the Low-Profile Keycaps on MakerWorld (PETG). Some large keys may need light sanding to fit the stem.
Q: Can I customize the case colors?
A: Yes — use custom.phdesign.cc for live color preview and pricing. Send the final parameters to the store and we'll build it to order.
Getting help
If the FAQ doesn't solve your problem:
- GitHub Issues: ph-design/PH60Slim-Choc
- QQ group: join
- Discord: ph-design community
References
- GitHub repo: ph-design/PH60Slim-Choc
- Keyboard config (keymap): ph-design/ph_lite-zmk-config
- Firmware: ph-design/zmks
- Production files: Production_v2 Release
- MakerWorld case: PH60 Slim Choc Case
- MakerWorld keycaps: Low-Profile Keycaps
- Online color customizer: custom.phdesign.cc
- Bilibili: assembly tutorial
- Taobao store: PH Design official store
Last updated: April 2026